Digitizing Slides: A Personal Approach And Solution

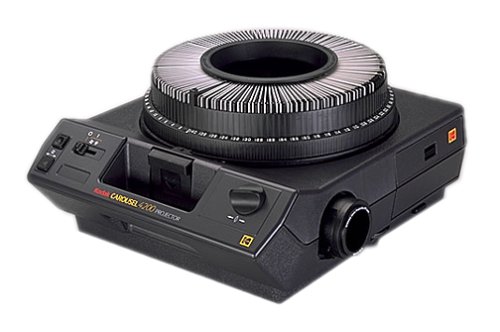
The old slides in our carousels are basically dead elephants unless we digitize them.
In the old days they offered the best quality to print from and gave us the opportunity to blow them up on a wall.
Today we can enjoy slide shows more easily on a computer or a large TV. How large a TV? Not really sure but when scanned, the more mega pixels will yield a bigger clearer picture and the actual slides have a lot of quality to offer for that.
In my experience the digitized slides scanned at 5 mega pixels seemed to show fine on a 32” TV.

I could have sent the slides to professionals to digitize, yet that process can be very expensive and in my uneducated view, it might not have been done as well as doing it myself.
I am saying not as good because no matter how careful a person is, film attracts dust and I am convinced that the digitized slides would have come back with at least one unacceptable dust spot.

Depending on your passion, scanning is really not too bad and relatively fast but the final ‘cleaning’ of dust spots off the digitized pictures is much more consuming.
It is a test of patience and nerves.
3,500 slides were scanned and dust spots removed. It took nearly six months of free time here and there but they turned out perfect. Watching TV and listening to the History Channel while working the slides helped time go by.
The overall as a level of complexity was a 3 on the scale of 10.

Suggestions:
Start with your favorites or most important.
‘Save as’ until you get comfortable in what you are doing.
Save the work done to an external drive.
Work from the easiest to fix to the hardest to build momentum.

Tools:
The film/slide scanner used was a VuPoint with 5 mega pixels quality images. It gave me no problems.
If you can get hold of a higher mega pixel scanner, it would be wonderful but at 5 mega pixels the slides produce humongous pictures.
Static master. Mine had expired years ago. They are sold at photography stores and their purchase is highly recommended to brush off dust. A fine bristle paint brush works also but not as well.
Air duster in a can. Costco had the better deals and I believe I used at least 6 cans in all.
Photoshop. My knowledge of this complex program was zero. Not to worry you will need to know about 5 commands or so total and one of them will use 99% of the time.

How I did it:
• The slides were loaded 3 at the time on the slide tray provided.
• They were brushed and air dusted.
• Scanned.
If you do not care about dust then you are done. Otherwise…
• Each slide was then opened in Photoshop.
• Learned to use the ‘navigator’ to get around the picture.
• Learned to use the ‘heal’ command with an appropriate size brush and used it 99% of the time.
The icon for ‘heal’ is a band aid. It is miraculous and almost unbelievable to the eyes!
It blends easily and can be used to also copy and paste.
• When done, I used ‘auto color’ and ‘auto contrast’ under the Image/Adjustments Tab.
• In the Image Tab I sometimes used ‘rotate’ to straighten the picture a couple of hairs.
• All the steps taken showed on the ‘history’ window on the side and undo was a click away.
If the shadows of some of your digitized pictures are bluish go to ‘mode’ in the Image
Tab. Notice RGB is checked. Check CMYK and save as.
Easily explained, RGB and CMYK have to do with colors. After comparing the same slides in RGB and CMYK, most of my slides have been saved in CMYK because they looked better.

Tips:
• The Alt on the keyboard is a very important key to get commands to work in Photoshop.
Your left hand will be on it most of the time.
• Slides in plastic mounts will have much less dust.

My slides were very important to me and I am extremely happy of the outcome.
The actual slides have been retired to plastic inserts and filed away in binders, while the digitized pictures can now be easily burned on CDs as slide shows with Microsoft Windows and then watched on the TV.
Saving Water Damaged Cell Phones and Digital Cameras

According to the trusted sources at NPR, many people seem to drop their cell phones or digital cameras into the toilet.

Don’t just look at it! Quick pull it out!

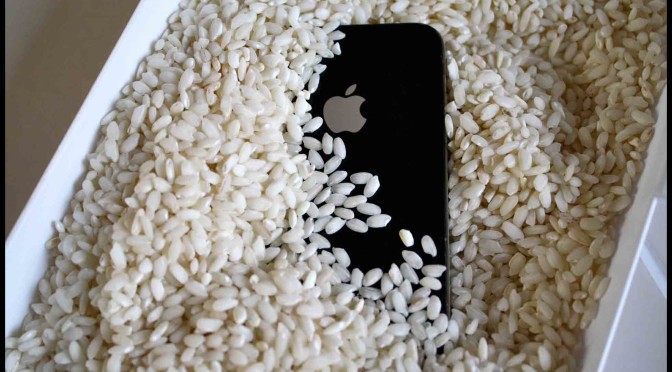
The sources also suggested an old trick within the industry which is to bury the soaking cell phone or camera in the middle of a large bowl full of rice. Cover the bowl and wait at least 72 hours before trying to see if it worked. The rice should have been able to absorb the unwanted moisture.

Good luck!

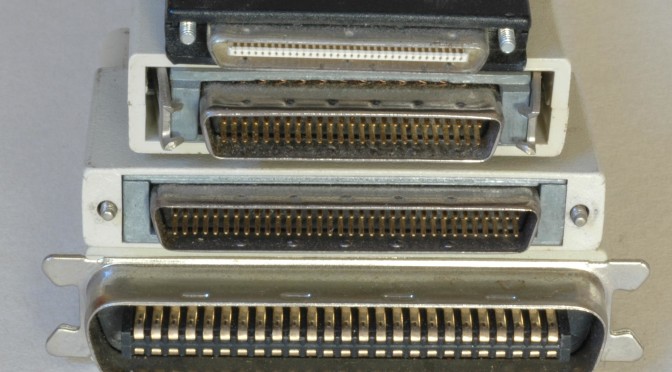
2 Minute SCSI Overview

SCSI is basically a fast communications bus, which allows users to connect multiple devices to their computers. Shugart Associates first introduced SCSI technology in 1981 in conjunction with NCR. It is predominantly used in high-end workstations and servers and offers a variety of speed and connection variations. There are several types of SCSI available such as Ultra, Fast, Wide, and Fast/Wide SCSI. Each type utilizes different variations of bus widths, bus speeds, and throughput capabilities, which ranges from 4 – 160 MBps. The benefits of SCSI are that it is very fast and reliable and allows you to connect eight to sixteen devices on one bus in a daisy chain fashion.

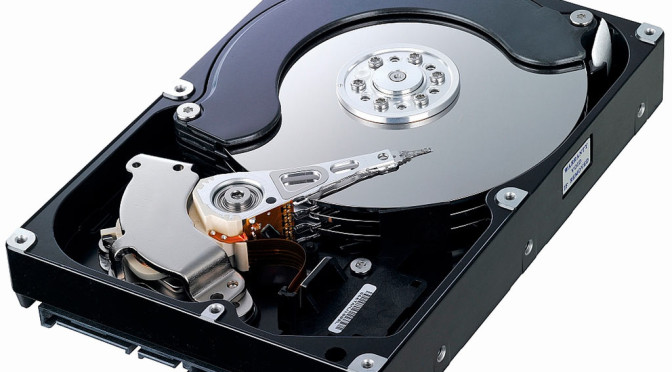
At the heart of SCSI technology is the controller, which is utilized as the interface between all of the devices on the SCSI bus and the computer. The controller is commonly referred to as the host bus adapter. Another main reason SCSI is widely utilized is that it offers the capability of RAID (Redundant Array of Independent Disks) technology. RAID allows the use of a series of independent disk to be connected together and used as one logical disk. This increases performance and provides fault tolerance with the high speeds of SCSI technology.

RAID – Redundant Array of Independent Disks

RAID (Redundant Array of Independent Disks) technology combines multiple inexpensive disk drives into a single array of independent disks. This method of combining multiple drives appears to the computer as one logical storage unit. It is used to obtain performance, capacity, and reliability, which exceed the capability of a single disk.

One of the basic fundamentals of RAID technology is striping and parity. Striping partitions the storage space of each drive into stripes and data is stored sequentially on each disk. In the event of a drive failure only the data on that particular drive needs to be recreated. Parity is the technology used to regenerate the data on the failed drive. There are 6 basic types of RAID architecture: RAID 0 through RAID 5. Each type provides disk fault tolerance with different feature and performance.

RAID 0: Typically defined as a group of striped disk drives without parity for data redundancy. Raid 0 arrays can be configured with large stripes for multi-user-environment or small strips for single user systems.

RAID 1: Simply a pair of disks drives that store duplicate data but appear to the computer as single drive. RAID 1 is also known as mirroring in which all writes going to each drive is the same so all information on each drive is identical.

RAID 2: Stores data by sectoring data across groups of drives with some drives assigned to store ECC information

RAID 3: Stores data by sectoring data across groups of drives leaving one drive dedicated to storing parity information. In the event that one of the drives is damaged or fails the parity information can be used to restore the data on that disk.

RAID 4: RAID 4 is identical to Raid 3 except that large stripes are used so that records can be read from any individual drive in the array except for the parity drive.

RAID 5: Under RAID 5 parity information is written across all drives. Since there is no parity drive all drives containing data and read operations can be overlapped on every drive in the array. RAID 5 combines efficient, fault tolerant data storage with good performance characteristics.

A Brief Overview of the iSCSI Technology

iSCSI is the convergence of the dominant protocol for block storage I/O with IP, the dominant protocol for computer internetworking. The combination of SCSI and IP would allow users to build a storage area network (SAN) utilizing existing Ethernet networks. iSCSI is an end-to-end protocol for transporting storage I/O block data over an IP network. The basic idea of iSCSI is to take advantage of existing IP network to acquire all the benefits of Storage Area Networks without the cost of implementing a SAN using Fiber Channel. IP networks are cost effective and they provide security, scalability, interoperability, network management, and storage management.

iSCSI uses the TCP/IP protocol to transport block level SCSI commands and data between client/servers and SAN targets. iSCSI utilizes host bus adapters which take block level data and encapsulate into a TCP/IP packet. The packet is then transported over an Ethernet network to the SAN target where another iSCSI adapter de-encapsulation the packet back to block level data where SCSI commands can be executed. Initially iSCSI was hindered by the fact that the encapsulation of block level data into a TCP/IP packet created a tremendous load on the CPU, which interfered with its ability to perform other operations. To rectify this problem, TOE (TCP/IP Offload Engines) were created to take the TCP/IP processing from the host CPU and completes TCP/IP processing and packet creation on the host bus adapter (iSCSI adapter).